
Setting Up a New Smart TV Without Getting Overwhelmed

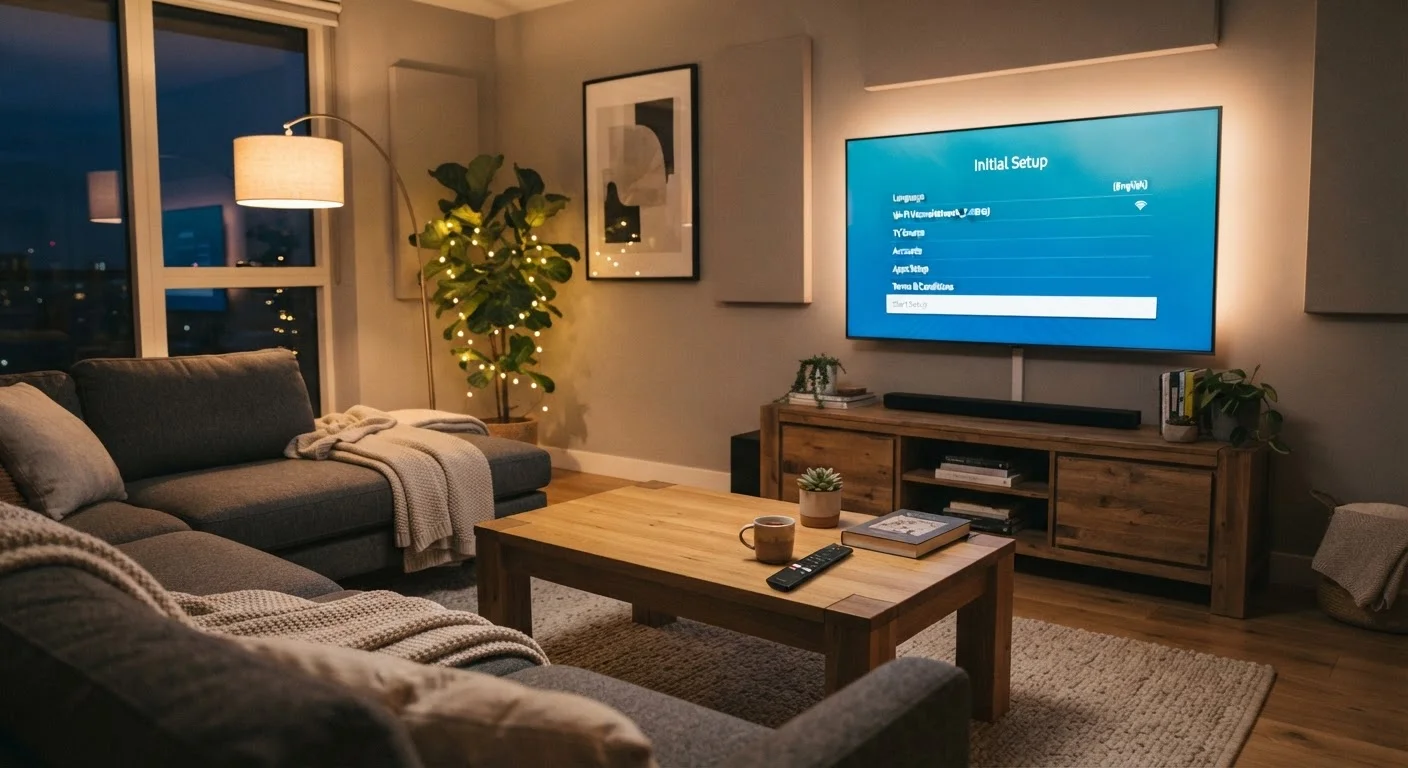
Photo: UltraSearches.com | Search Results You Can Trust editorial
Key Takeaways
- Completing setup in the right order prevents having to redo settings later.
- A stable Wi-Fi connection is essential before signing into any streaming accounts.
- Adjusting picture and sound settings during setup delivers noticeably better everyday viewing.
- Limiting data-sharing permissions during setup protects your privacy from the start.
- Software updates should be installed before using the TV to avoid early bugs.
What You'll Need Before You Begin
Unboxing a new smart TV feels exciting until you're staring at a language-selection screen with three remotes and a tangle of cables on the floor. Taking five minutes to gather everything in advance makes the process significantly smoother.
What you will need
Wi-Fi router and network password
Required to connect the TV to the internet for streaming and software updates.
HDMI cable
Used to connect external devices like game consoles or cable boxes to the TV.
Streaming service login credentials
Needed to sign into apps like Netflix or Hulu during or after the setup process.
Smartphone or tablet
Some smart TVs offer a companion app that simplifies initial configuration and text entry.
If you're still deciding on your TV or want to understand what specs like 4K and HDR actually deliver, our guide to TV resolution breaks down the jargon before you commit. And for anyone making a first major electronics purchase, what first-time shoppers should understand is a useful starting point.
Step-by-Step Setup Walkthrough
Follow these steps in order. Skipping ahead - particularly trying to log into streaming services before the network is configured - is the most common cause of repeated restarts and frustration.
Place and power on the TV
Position the TV so it's stable - either on its stand on a flat surface or securely wall-mounted. Plug in the power cable, press the power button, and wait for the startup screen. Do not press other buttons during the initial boot sequence, which can take 30-60 seconds on a first start.
Select language and region
Use the remote's directional buttons to choose your language and confirm your country or region. Getting this right matters: it affects the app store region, default content ratings, and in some cases the units displayed in menus.
Connect to Wi-Fi
Select "Wi-Fi" or "Wireless" from the network options screen. Your TV will scan for nearby networks. Select your network name from the list and enter your password carefully - most remotes require navigating an on-screen keyboard, so take your time. A successful connection will typically show the signal strength or a confirmation message.
Install software updates
Before signing into any accounts, check for and install available software updates. On most smart TVs this prompt appears automatically after connecting to the internet. If it doesn't, navigate to Settings > Support > Software Update (exact wording varies by manufacturer). Allow the update to complete fully - the TV may restart one or more times.
Review privacy and data settings
After updating, setup will typically present one or more screens asking you to agree to terms of service and choose data-sharing preferences. Read these screens rather than tapping "Agree" on everything by default. Look for toggles covering interest-based advertising, viewing data collection, and automatic content recognition (ACR) - a feature that continuously samples what's on screen to build a profile of your viewing habits. You can disable ACR without affecting core TV functionality.
Sign into your streaming accounts
Open the app store or home screen and launch each streaming service you use. Sign in with your credentials. If your TV has a companion smartphone app, many manufacturers allow you to type passwords on your phone and send them to the TV, which is far faster than the on-screen keyboard. Install only the apps you actually intend to use - a crowded home screen can slow down navigation on older or entry-level hardware.
Use Your Phone as a Keyboard
Don't Skip the Software Update Step
Smart TVs share more data than many users realize. During setup, look for screens labeled "Privacy," "Advertising," or "Data Sharing" and review each toggle before accepting defaults. For a broader look at how connected devices handle your home network, see our article on smart appliance connectivity features.
After Setup: A Few Adjustments Worth Making
Factory picture settings are calibrated for showroom brightness, not a living room. Once setup is complete, navigate to your TV's picture settings and look for a mode labeled "Movie," "Cinema," or "Filmmaker Mode" - these are generally closer to how content creators intended the image to look, with less artificial sharpening and motion smoothing.
On the audio side, built-in TV speakers benefit from selecting a "Standard" or "Normal" sound profile rather than bass-boosted presets, which can muddy dialogue clarity. If you connect an external soundbar or receiver, the TV's internal speakers should be disabled in the audio menu to avoid overlap.
Motion Smoothing: Turn It Off
For further guidance on setting up connected home devices, the Smart Buying Tips hub covers a range of practical consumer electronics topics.
The content on this site is for informational purposes only and is not a substitute for professional advice. Always consult a qualified professional for guidance specific to your situation.