
Choosing the Right Dryer Venting Setup for Your Home

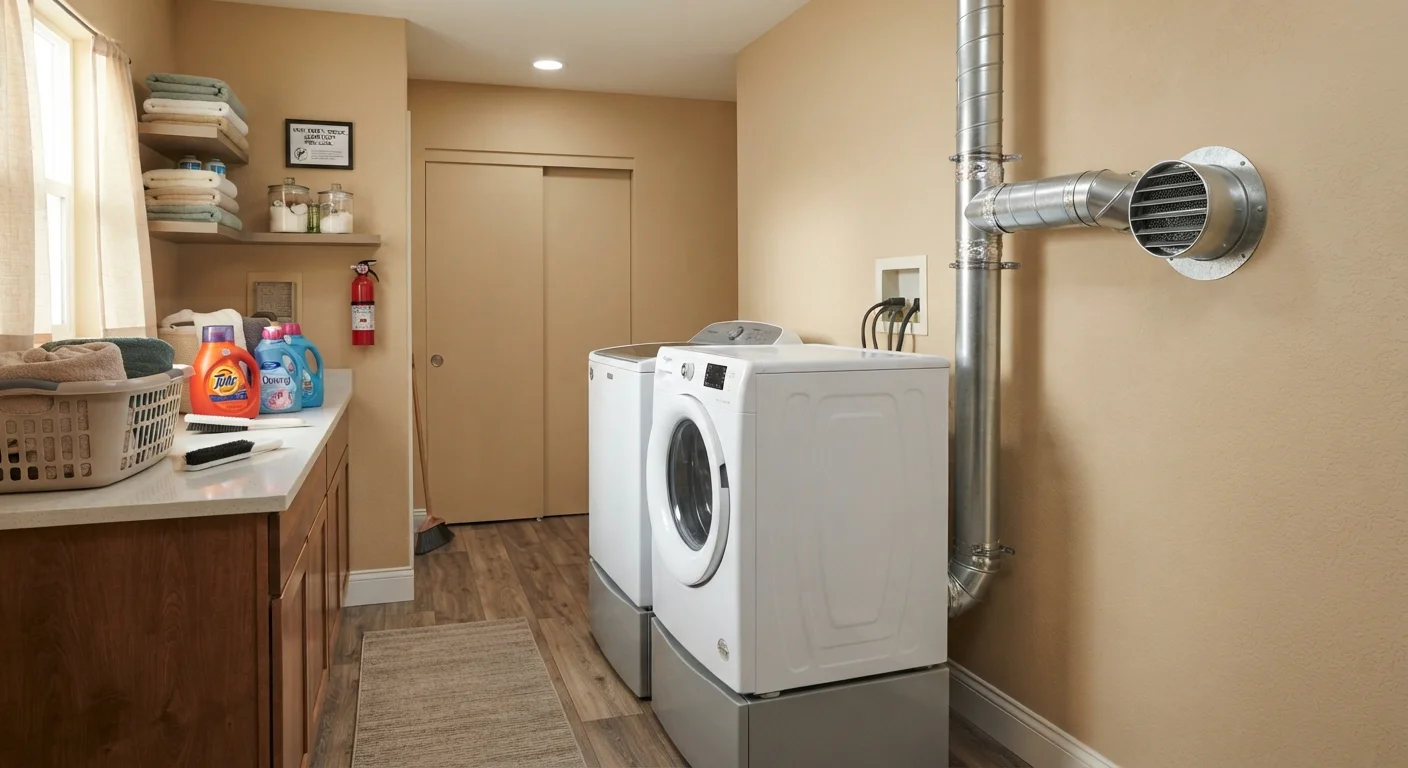
Photo: UltraSearches.com | Search Results You Can Trust editorial
Key Takeaways
- Rigid metal ductwork is the safest and most code-compliant choice for dryer exhaust systems.
- Total duct length, including bends, must stay within manufacturer and local code limits.
- Lint buildup in venting is a leading contributor to residential dryer fires.
- Ventless dryer options exist but require different installation considerations than vented models.
- Improperly installed venting can void your dryer's warranty and increase utility costs.
Why Dryer Venting Matters More Than Most Homeowners Realize
Dryer venting is one of the most safety-critical elements of a laundry setup - yet it often gets minimal attention during installation. The U.S. Fire Administration has identified dryers as a significant source of residential fires, with failure to clean venting and improper installation cited among the top contributing factors.
Beyond fire risk, poor venting cuts dryer efficiency. When moist, hot exhaust air can't escape freely, drying cycles take longer, energy use climbs, and components wear out faster. If you're thinking about the full picture of appliance operating costs, see how venting inefficiency adds to your utility bills.
Understanding the fundamentals - duct material, run length, and termination point - is essential before you purchase a dryer or move one to a new location.
Never Vent a Dryer Indoors or Into a Crawl Space
Duct Material: Choosing the Right Type
Not all dryer duct materials are equal, and the wrong choice can create serious hazards:
- Rigid aluminum or galvanized steel duct - The industry-preferred and widely code-required option. Smooth interior walls minimize lint accumulation, and the material withstands heat without collapsing.
- Semi-rigid aluminum flex duct - Acceptable in many installations for short transition runs (typically the last few feet connecting the dryer to rigid duct). Avoid using it for long runs or behind walls.
- Plastic or vinyl flexible duct - Prohibited by most building codes for dryer exhaust. It can melt, sag, trap lint, and is a documented fire hazard.
- Foil accordion flex duct - Generally not recommended for dryer use despite being widely sold. The ridged interior accumulates lint rapidly.
When in doubt, consult your local building department. Many jurisdictions follow the International Residential Code, which specifies rigid or semi-rigid metal for dryer exhaust.
Label Your Duct Joints for Easy Inspection
Planning Your Vent Run: Length, Bends, and Termination
Every foot of duct and every bend adds resistance to airflow. Manufacturers publish maximum equivalent length specifications - a typical limit is around 25 feet of straight rigid duct, with each 90-degree elbow deducting roughly 5 feet from that allowance. Check your specific appliance manual, as limits vary.
Key planning considerations:
- Shorter is better. Minimize the distance from the dryer to the exterior wall or roof cap.
- Limit bends. Each elbow adds resistance; use gentle-radius bends where possible and avoid unnecessary turns.
- Terminate correctly. The duct must end at an exterior wall cap or roof cap with a damper flap - never into an attic, crawl space, or garage. Improper termination allows moisture and lint to accumulate indoors.
- Avoid screens on the exterior cap. Mesh screens trap lint and restrict airflow; use a louvered damper instead.
For homeowners comparing dryer placement options as part of a larger laundry room setup, front-load vs. top-load washer considerations may also affect how you configure the space.
Step-by-Step: Setting Up Your Dryer Vent
Before starting, review your dryer's installation manual and confirm local code requirements. If your run requires penetrating a wall or involves gas appliances, consider hiring a licensed contractor.
What you will need
Gather materials and review the manual
Collect all required duct sections, elbows, foil tape (not standard duct tape), and the exterior wall cap before starting. Read the dryer's installation manual for its maximum duct length, bend allowances, and required duct diameter - typically 4 inches for residential dryers.
Plan and measure the duct route
Map the shortest practical path from the dryer's exhaust port to the exterior. Measure total straight-run length and count bends. Calculate equivalent length using your manufacturer's deduction values (commonly 5 feet per 90-degree elbow) and confirm the total stays within spec.
Install the exterior wall cap
Cut or locate the exterior penetration point. Install a 4-inch louvered wall cap - not a screened cap - sealing around the exterior flange with exterior-grade caulk to prevent moisture intrusion. Confirm the damper flap opens and closes freely.
Run and connect rigid duct sections
Working from the wall cap inward, connect rigid duct sections so that each joint's inner piece points in the direction of airflow (toward the exterior). Secure each joint with foil tape. Use duct straps or hangers to support horizontal runs every 4 feet to prevent sagging.
Connect the transition duct at the dryer
Attach a short section of semi-rigid aluminum flex duct (typically no more than 6 feet) between the dryer's exhaust port and the rigid duct run. This allows the dryer to be moved slightly for cleaning without disconnecting the entire run. Secure connections with foil tape and check for kinks.
Test airflow and inspect the installation
Run the dryer on a heat cycle and check the exterior cap - the damper flap should open fully and you should feel warm, moist air exhausting outside. Check all joints for leaks by holding your hand near each connection. Any felt airflow from a joint indicates a leak that needs additional foil tape.
Ventless Dryers: A Different Path
Condenser and heat-pump dryers - sometimes called ventless dryers - don't exhaust air outside. Instead, they remove moisture from clothes by condensing it into water, which drains away or collects in a reservoir. This makes them practical for apartments or spaces where exterior venting is impossible.
Trade-offs to understand: ventless models typically have longer cycle times than vented dryers and may carry a higher upfront cost. Heat-pump variants, however, use substantially less energy per cycle, which can offset cost over time. Maintenance differs too - condenser units and filters need regular cleaning to maintain performance. For a broader look at routine dryer care, the appliance maintenance checklist covers dryers alongside other major household units.
If you're setting up a new home and weighing all your appliance choices together, what new homeowners should know before buying appliances offers useful framing for the broader decision.
The content on this site is for informational purposes only and is not a substitute for professional advice. Always consult a qualified professional for guidance specific to your situation.